Here is the part everyone is waiting for. We have a room that shakes (if someone stands outside and shakes it) and has some computer-controlled lights. But what about the moving walls? A good elevator simulator will give you the VISUAL illusion that you are moving up or down.
I failed to deliver this in 2006, and part of the reason of doing another elevator was so that I could take another crack at the endless-loop wall panel passing by the window thing. I would love to tell you how great this worked, but alas, I was foiled by a simple (unremovable) ceiling light. Sometimes the world is not fair. However, it was not a total loss and I was able to give the kids about 5 feet of descending wall rather than the thirty feet I had planned. The approach works in theory so here it is (just make sure you measure everything twice before you start).
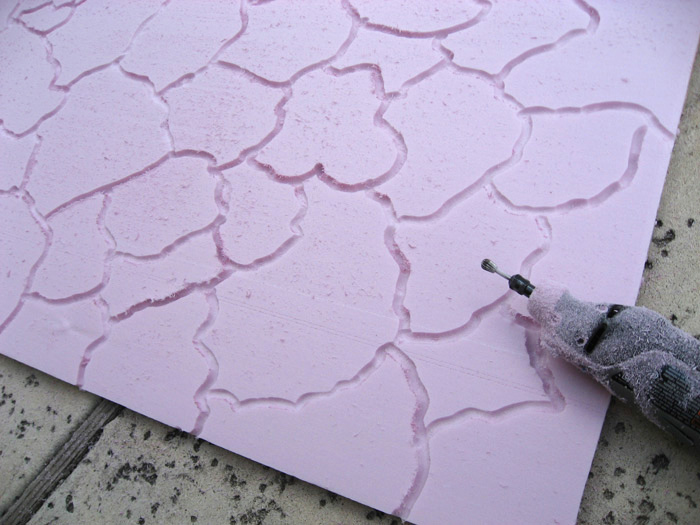
As the elevator crashed through the floor, I wanted a vent to fall away and have the kids see a rock wall passing by the vent, thus showing them their decent into the earth. I was not going for some flat painted paper rock on a roller, I was going to do this in 3D. So, we start with foam board and a dremel.
Now, I needed exactly ten feet of rock wall because my bicycle chain was ten feet long. Foam board comes in 8'x4' sheets so I needed three of them (you will see why three a little later). Initially, I started to make a paper stencil on my computer then realized that it would be much easier just to do it freehand. I put a rounded cutter on my dremel, attached the router guide (not shown in the picture) so that I would not cut all the way through the board. My panels were going to be 30" wide so I cut about 11' of foam board (8' + 3") to 30" and and started making random rock shapes. I did not pay too much attention to the edges of the board.
I then took off the router guide and made some more lighter cuts...
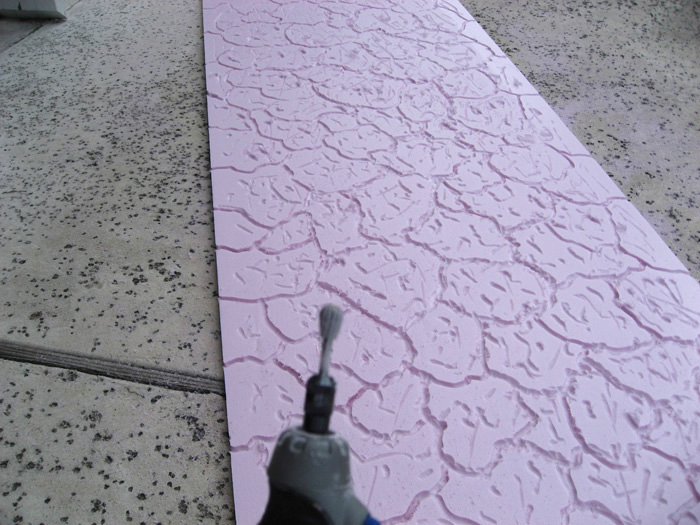
These cuts were too clean to be natural stone, so I roughened up the cuts with a wire brush attachment. Don't be scare to let it rattle around on your board.
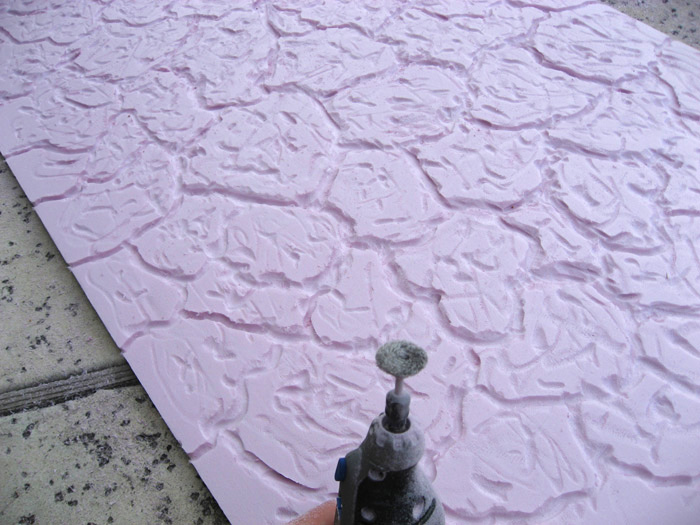
That is looking better. But where are the cracks? I used a pointed cutter tool to make some sharp cuts...
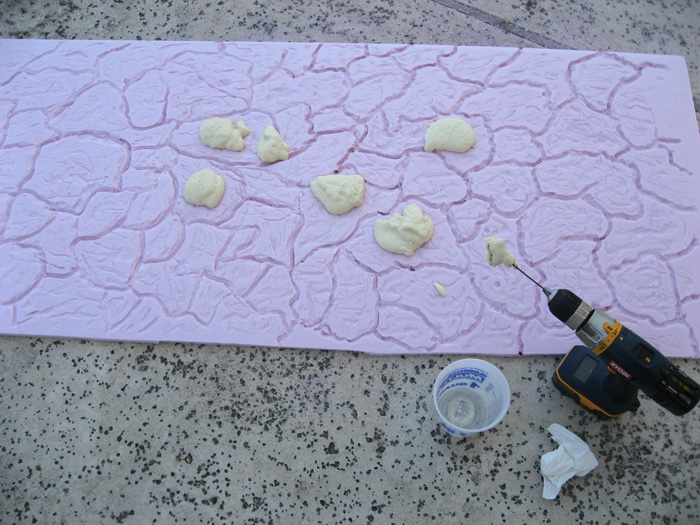
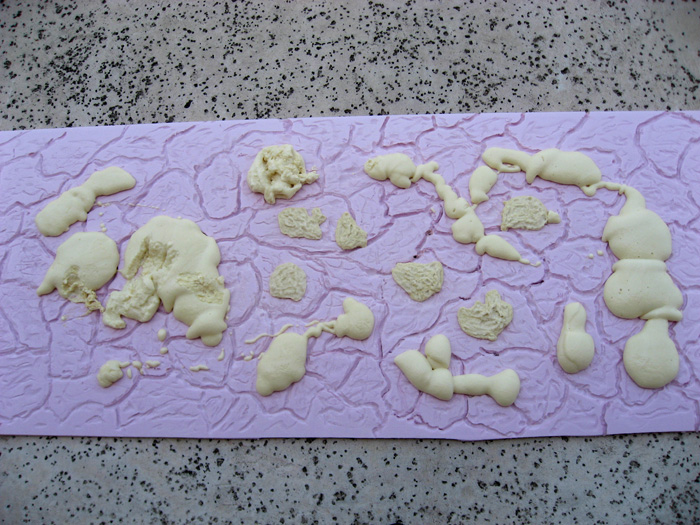
So, looking stoney, but it is awfully flat. So, a grabbed some 2-part polyurethane foam I ordered online and slapped some globs on...
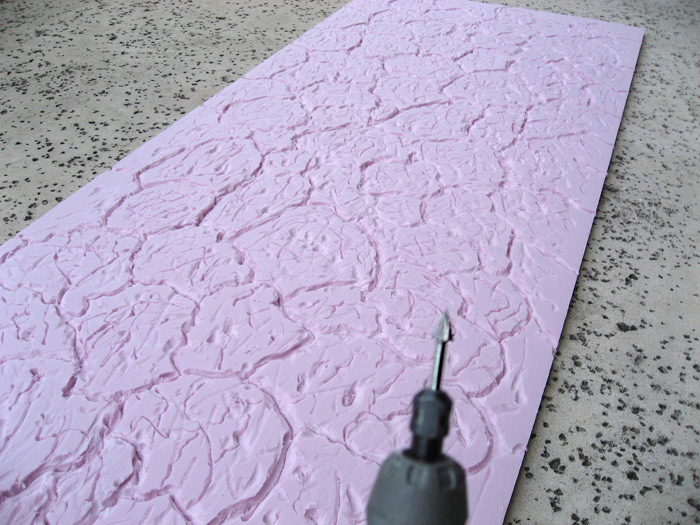
I then roughned them up with the dremel...

More, must have more...
Now to paint. This foam stands up pretty well to spray-paint if you us light coats, but the cuts tend to melt. Some melting is good, but it is hard to get good paint coverage. I have found that polyurethane wood varnish will not attack the foam and even a light coat will protect it from the paint. I have no idea of the flamability of this creation so I suggest you go light on the varnish. Now, spay paint with a mixture of black, red, brown and the specialty speckled rock spray paints that are expensive, but great for adding texture, even with just a light touch up.
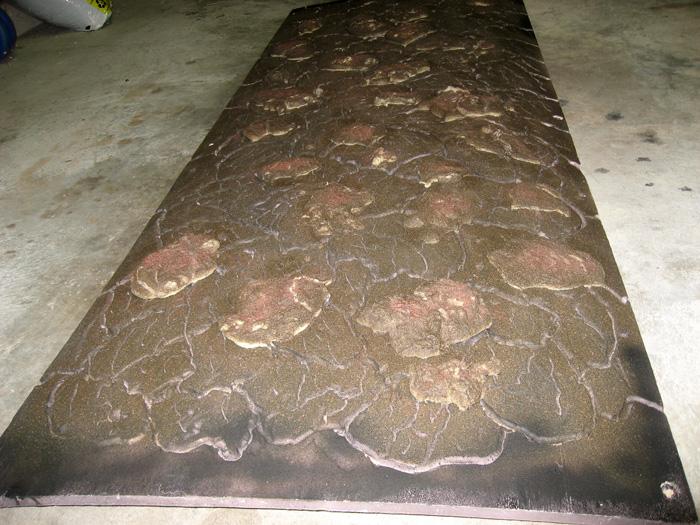
I wanted each panel to be 15" tall (15" x 8 = 10 feet) so I marked the edges of the board every 15 inches (I made the first mark at 18 inches for reasons I will tell you in a minute) and put the cutter tool on my Dremel. I did not cut straight across but followed the cracks (and make a few of my own) never straying too far from the line. The cuts are painted black in the picture below. If I had it to do over again, I would not have painted those black but kept it the same rock color as to not draw so much attention to them.

Oh, there are some edge panels and I want this to be a continuous loop. Remember I didn't care too much about the very edge and I made the first panel 18" instead of 15"? That is because I am going to use the top of the last panel as a guide to cut that last 3" off the first panel. Actually, you can get six 15" panels with a 8' peice of foam board and I need eight so I made another two from a second sheet. That means I had two end pieces and had to do this twice. I just laid the top cut edge of panel #6 over the uncut bottom edge of the first panel of the second sheet (panel #7). I used the cut edge as a guide to cut the bottom edge of panel #7. Panel #6 now fits like a puzzel piece to panel #7. I then took the top edge of panel #8 and used it as a guide to cut the bottom edge of panel #1. I now have a continueous of foam rock wall.
Next, let's put it all on a bicycle chain...
Next Page